After following the steps in the Getting Started and Setup guide, these steps will take you through installing Zendesk for Contact Center app in Zendesk.
In your Zendesk account, navigate to the Admin Center

Navigate to Zendesk Support Apps

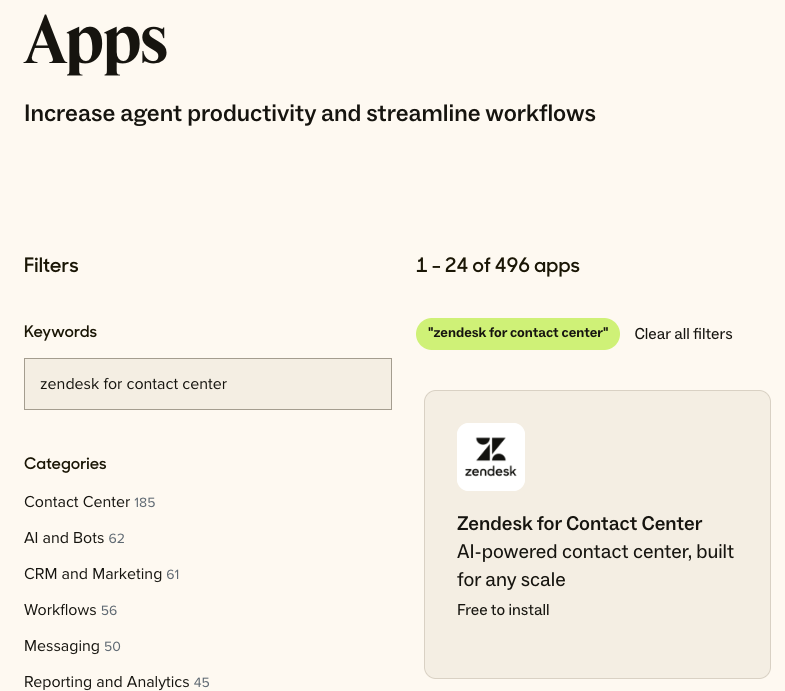
Open the Marketplace

Search for Zendesk for Contact Center in the Marketplace:
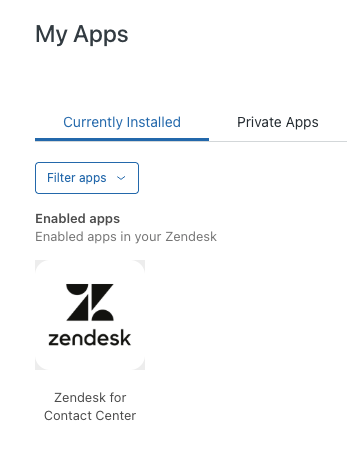
After the Zendesk for Contact Center app has been installed in your Zendesk account,
Navigate to Admin Center > Apps and Integrations > Apps > Zendesk Support apps > the newly installed Zendesk for Contact Center App
Select the app and update the following settings using your existing Zendesk for Contact Center instance URL
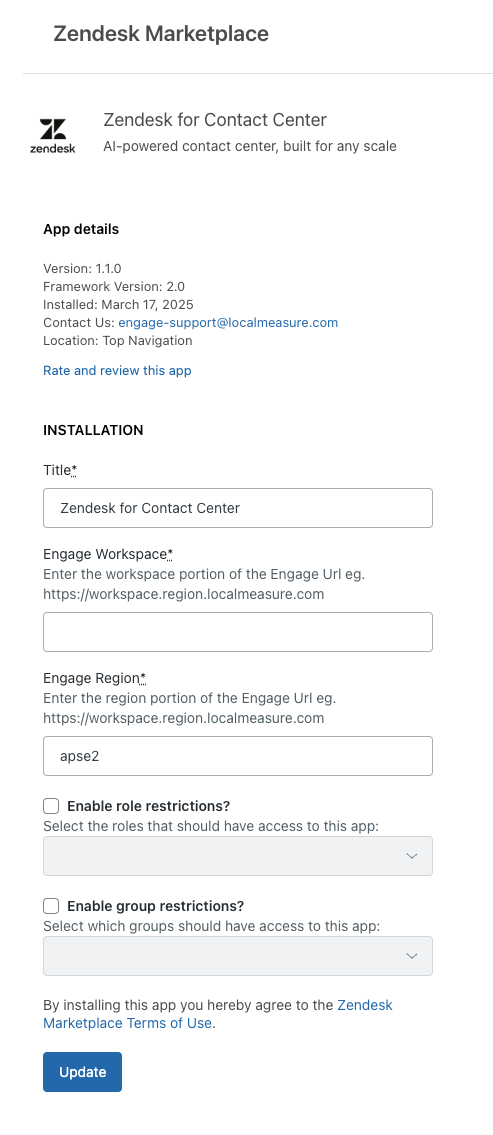
- Title
- It is advised to leave this name as is.
- Engage Workspace
- Once you have your Zendesk for Contact Center environment set up, you can retrieve this workspace value from the URL of your standalone ZD4CC environment.
- Engage Region
- Once you have your Zendesk for Contact Center environment set up, you can retrieve this region value from the URL of your standalone Zendesk for Contact Center environment.
- Enable Role Restrictions
- With this optional setting you can limit specific roles to have access to the Zendesk for Contact Center app.
- Enable Group Restrictions
- With this optional setting you can limit specific groups to have access to the Zendesk for Contact Center app.
After the fields have been filled, save the changes.
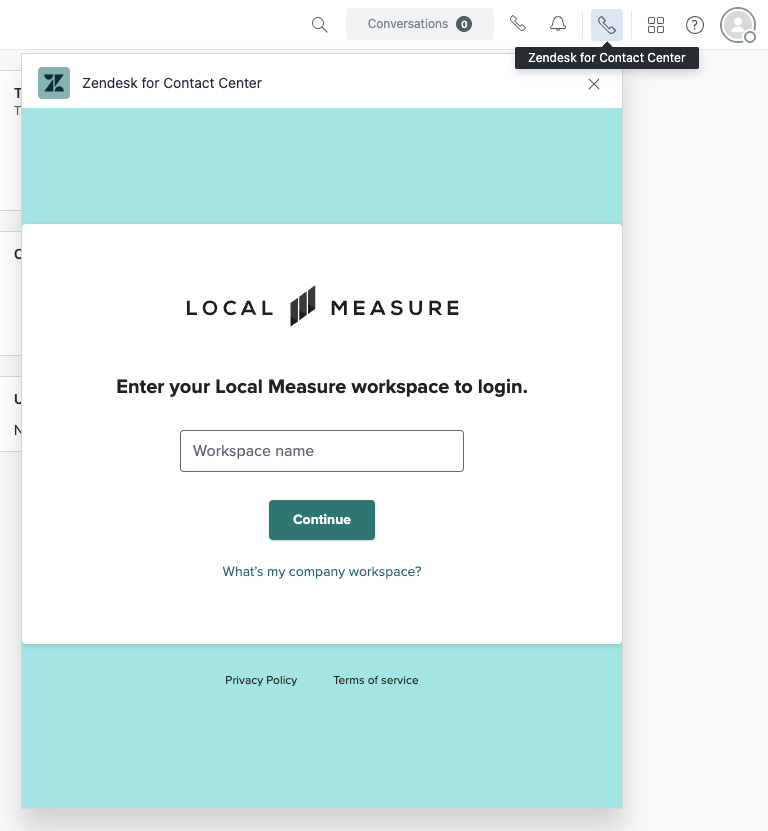
The Zendesk for Contact Center app should now appear in the top right corner of your Zendesk UI