Overview of high-level steps to install the CTI package:
- Install the Salesforce Package
- Get the VisualForce page URL
- Configure the Call Center Settings
- Configure Approved Origins in Engage Settings and Connect
- Add the Softphone Utility to the Lightning Console App
- Add users to the Call Center
- Permission sets
Install the Salesforce Package
Visit this link and follow the prompts: Engage CTI
Choose the appropriate permissions - Recommended: Choose Specific Profiles
Then apply the EngageCTI Agent option to the Profiles your agents will use.

[.callout-primary--info] If you don't do this at install time, or want to add roles to extra users later, there is a Permission Set included with the package. See more info below.[.callout-primary--info]
Get VisualForce page URL
Find the VisualForce Pages sections by searching in the Quick Search in Setup.

Click on the LMVisualForcePage.

Then click Preview.

This will open in a new window. You need to copy the URL.
[.callout-primary--alert]Save this URL because you will need it in the following step.[.callout-primary--alert]

Configure Call Center Settings
You can find the Call Center Settings by searching in the Quick Search in Setup.

The package installs "Local Measure Engage CTI Adapter" (Display name) - "lmCallCenter" (Internal name).
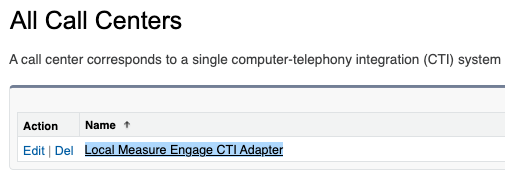
View the call center and click Edit.

- Set CTI Adaptor URL to the URL you got from step 2.
- Set the Engage URL to the region-specific URL for your Engage Instance (new pattern with workspace name as a subdomain) - eg. https://demo.syd.localmeasure.com
- Set the Merchant Name to your workspace name - eg. “demo” is workspace name in https://demo.syd.localmeasure.com

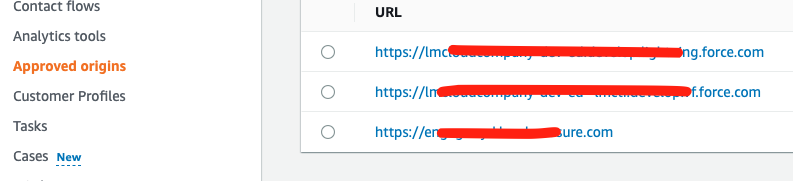
Configure Approved Origins in Engage Settings and Connect
You will need to add two URLs to the Approved Origins in Engage Settings and Connect
- Salesforce organisation URL. The URL after you log in to SalesForce. It is in the browser address bar. (eg. localmeasure2-dev-ed.lightning.force.com)

- VisualForce Page URL (see step 2).
Adding to Engage Settings
Log in to Engage, under “Settings > General Settings > Local Measure Connection”, click on Edit Approved Origins, and add the above URLs.

Your Engage user must be assigned to “LM-Admin” group to see the Engage Settings. To add your user to this group, go to “AWS Console > Cognito” and select the User pool for Engage instance. Under the User tab, select the user and add it to LM-Admin group. Then refresh the Engage page.

Add Approved Origins in AWS Connect Console
Follow the instructions here to add Approved Origins to Amazon Connect.
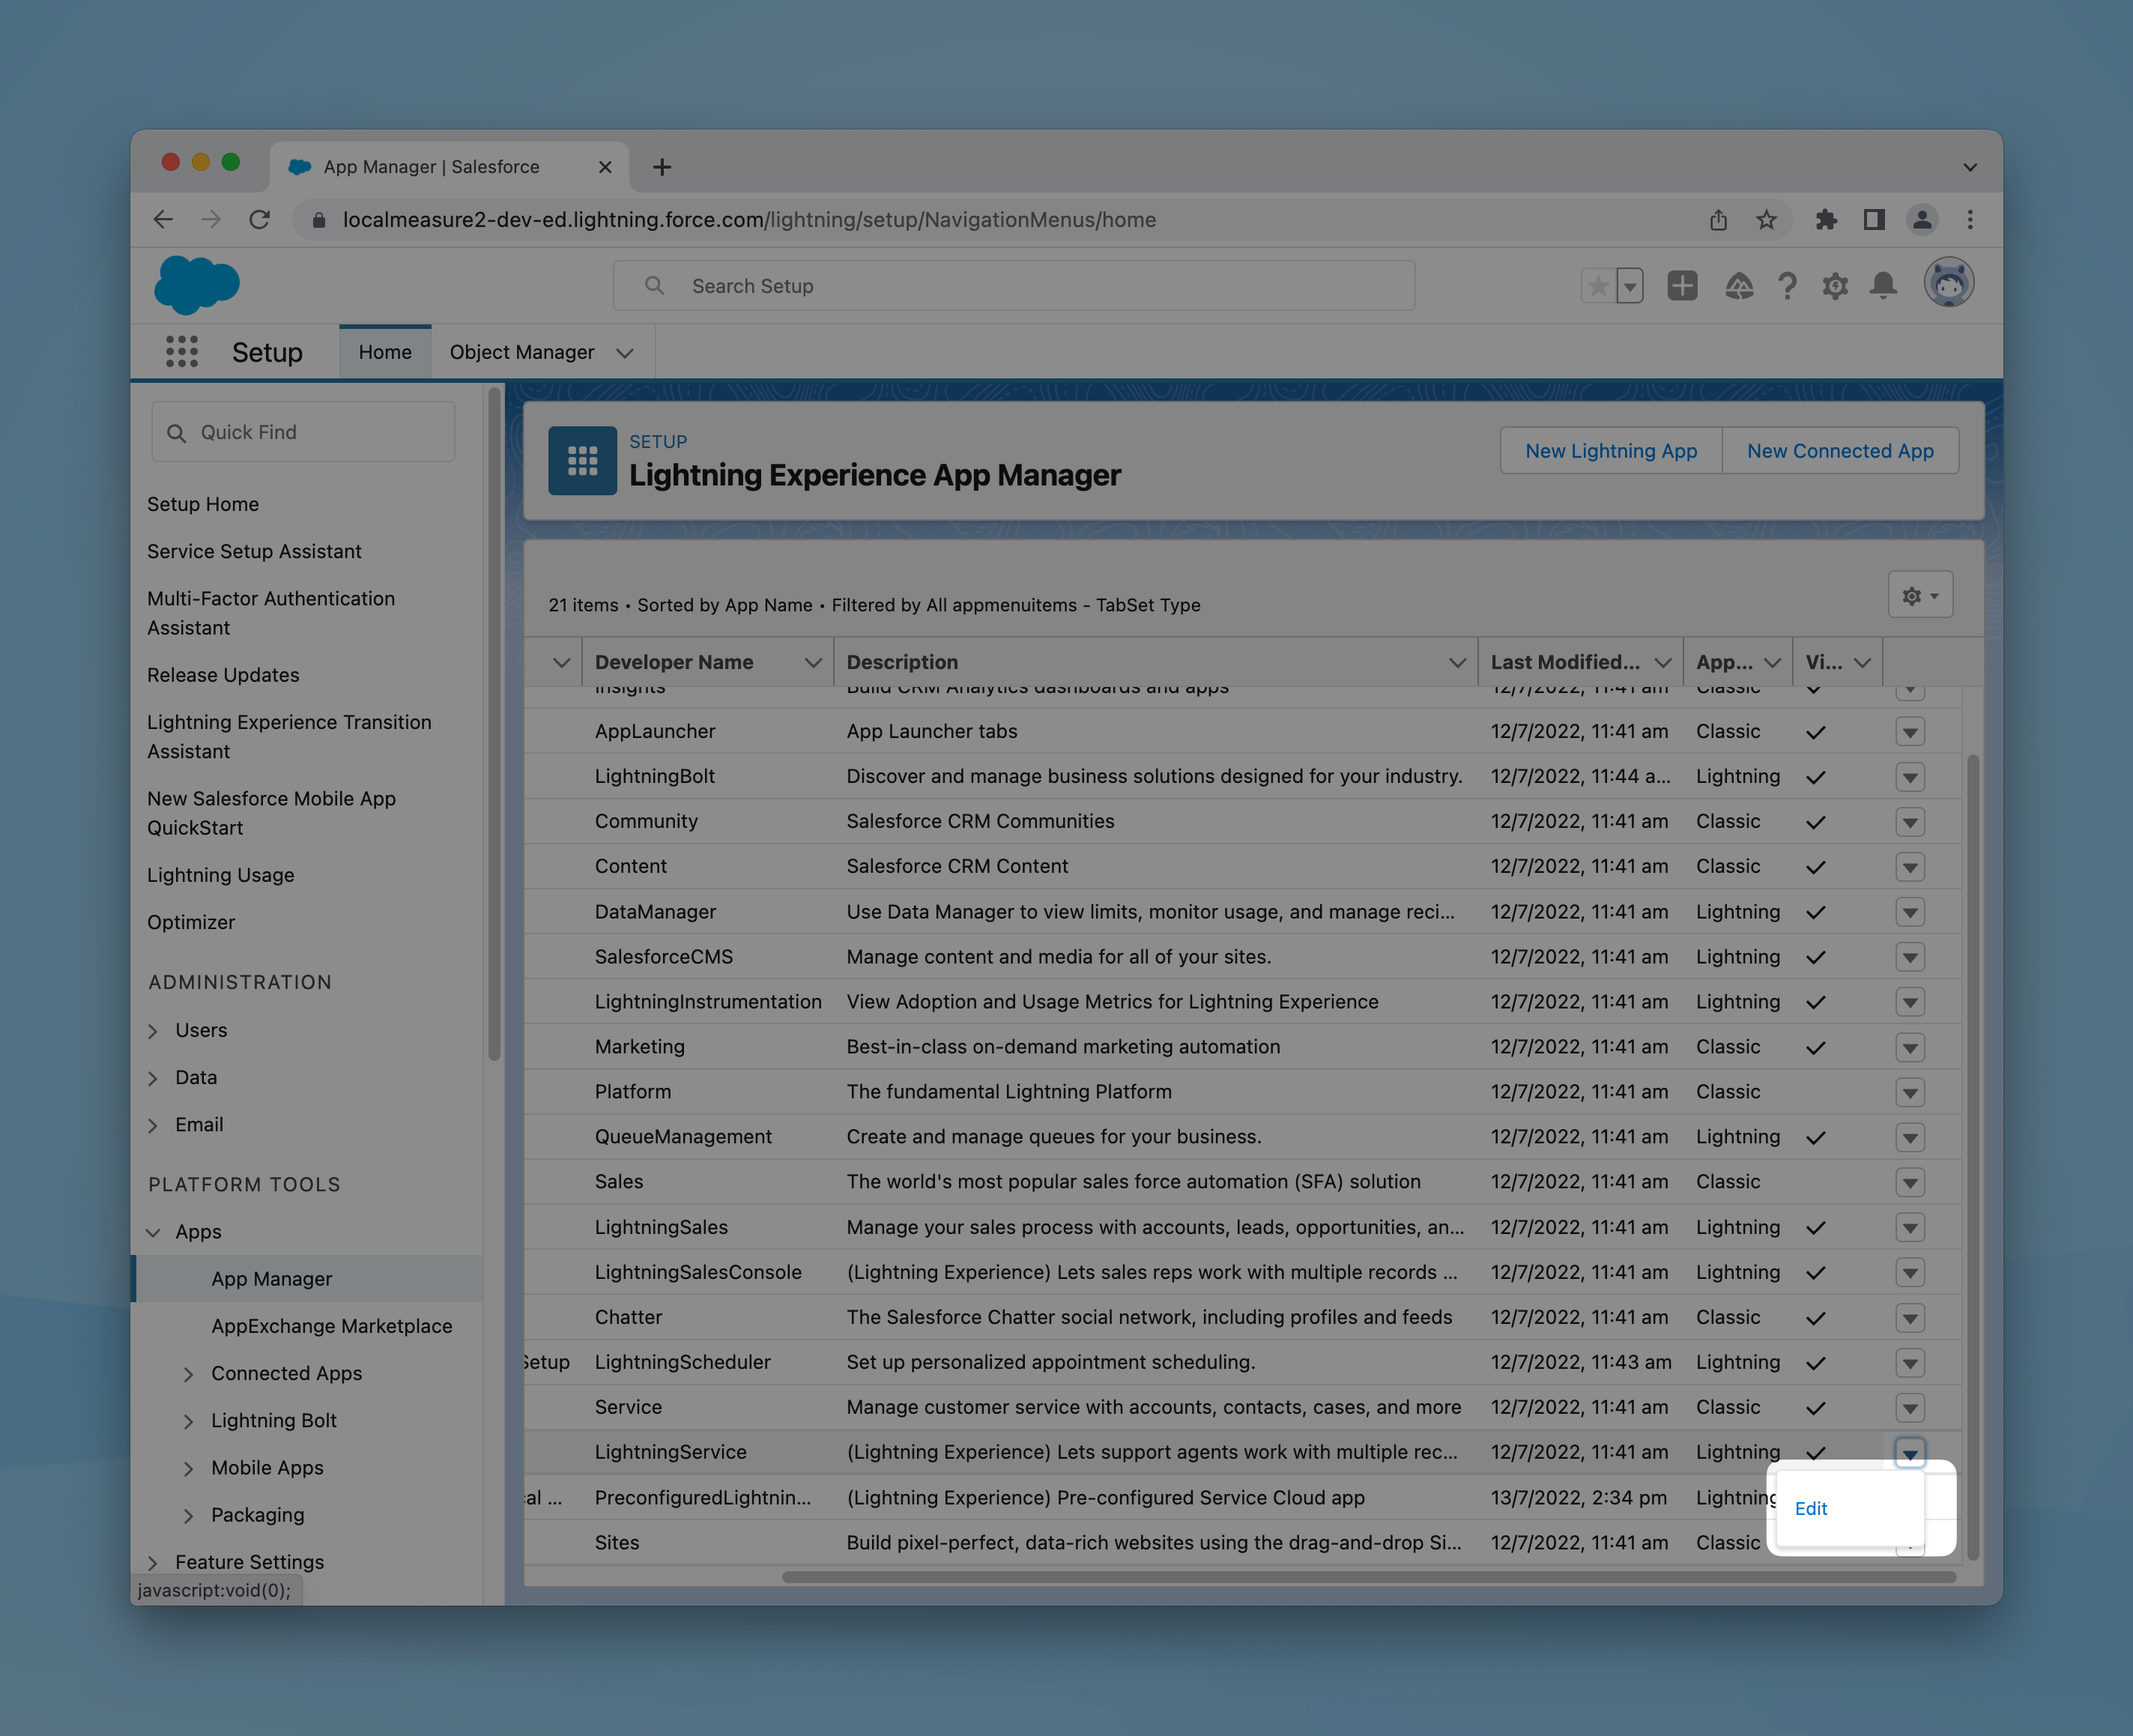
Add the Softphone Utility to the Lightning Console App
The Open CTI Softphone can be added to any Lightning Console App.
Go to App Manager in Setup.

Select the App you want to update and choose Edit.
In Utility Items, choose Add Utility Item then Open CTI Softphone.

Update these fields - you can set them to what makes sense to you. The width and height in the screenshot below will give agents the smoothest experience.

Adding Call Center Users
[.callout-primary--alert]We recommend you add one user first to test that everything is working. Before enabling more users.[.callout-primary--alert]
Go to the Call Center Settings and click Manage Call Center Users.

From here you can add or remove users.

Any users added will be able to access the Utility Bar from the Lightning Console App you configured earlier.

[.callout-primary--info]You can also add or update the Call Center from the individual User Settings.[.callout-primary--info]

Permission Sets - adding necessary access level after installation
During installation, admins can choose to apply permissions to specific profiles. If you want to change or add more users after installation, then you use Permission Sets.
In Setup, find Permission Sets and choose EngageCTI agent.

You can then Manage Assignments to add assignment rules for users.

For more info on Permission Sets refer to Salesforce Help: Help and Training